How to Read a Hand-Finished Edge Across Workshop and Factory History
Learn how to read a hand-finished edge by separating tool traces, wear, and repair, and place its clues in the overlapping history of workshop and factory production.
The common mistake in reading a hand-finished edge is to treat irregularity as proof of handwork or age. That shortcut can turn ordinary damage into a story about a maker, while a smooth line gets dismissed as factory work. To read a hand-finished edge, separate what the surface shows from what its production history might have been.
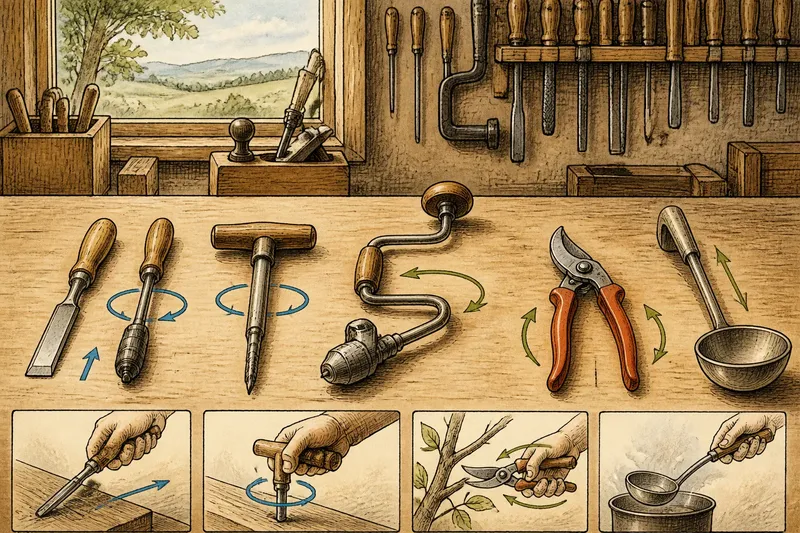
Hand finishing did not belong to a single era that ended when factories appeared. Before mechanized production expanded, makers used knives, files, planes, burnishers, rasps, shears, stones, and abrasives to shape boundaries. Workshop production, mechanized processes, and hand refinement later overlapped; an edge may record several of them in sequence.
Hand finishing changed as workshop and factory methods overlapped
Before factory production became widespread in a particular trade or place, makers commonly finished edges with tools suited to the material and purpose. A finished boundary could protect a fragile edge, make an object comfortable to hold, help parts fit, or give a visible surface a deliberate appearance.
Factory production did not simply replace those actions. A machine could shape an edge that someone later filed or polished by hand, while a workshop could use jigs or standardized parts. The important historical question is not just “hand or factory?” but which operations shaped the edge, and in what order.
That sequence can be difficult to recover. A cut may be softened by later abrasion; use may round a once-sharp boundary; repair may add a bevel or cover an earlier surface. The edge is evidence of work, but it rarely identifies a single maker or production system by itself.
Compare the marks with their location and continuity
Begin in ordinary light, then turn the object so light falls across the edge from the side. This can make shallow ridges, compressed fibers, scratches, and changes in sheen easier to see. A magnifier may help with small details, but it cannot date a mark or name the person who made it.
Use three questions to sort similar-looking traces: Does the mark follow the object’s construction? Does it continue in a repeated direction? Does it interrupt an earlier surface? A line that follows a shaped rim and repeats along it may be part of finishing; a scratch that crosses the rim and adjacent face may be later damage. Neither pattern is conclusive alone, but the comparison narrows the possibilities.
Chips often interrupt a surface rather than follow its intended profile. A repair may introduce a new edge, fill a loss, or meet the old surface with a change in color, texture, or sheen. Dirt, polish, and coatings can disguise these differences, so an isolated mark deserves a description before it gets a name.
Read each material by the traces it can preserve
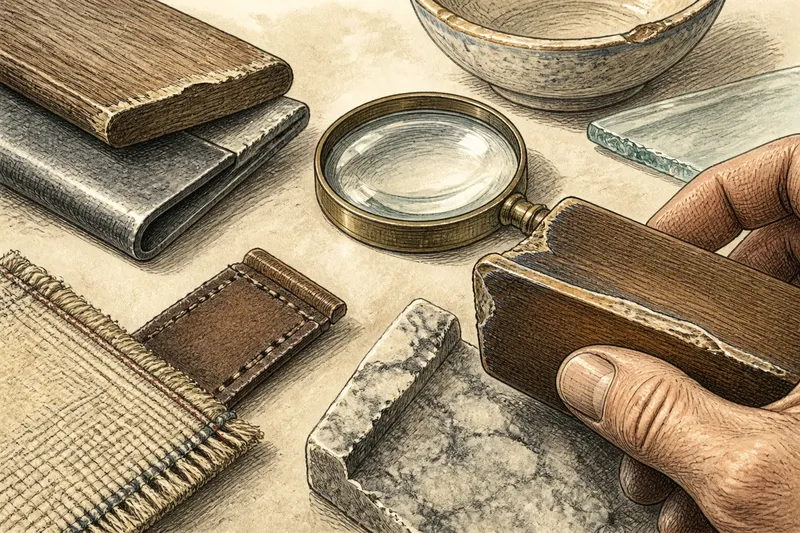
Wood may show cut fibers, small facets from a plane, or a rounded profile from repeated smoothing. Grain can make a deliberate tool pass look uneven, so compare the trace with the grain direction and with other edges on the same object. A rough patch that exposes fresh fibers may be damage; a repeated profile that continues around the rim is more consistent with planned shaping.
Metal can preserve file marks, shearing traces, hammered transitions, or polished bands. A later finishing pass may soften earlier marks. A turned or folded edge on thin metal may protect the boundary or strengthen it, rather than serve as decoration.
Stone can acquire a softened profile through abrasion. A ceramic rim may have been trimmed, compressed, or smoothed before firing, while a glass edge may have been ground or polished after cutting. These materials require different comparisons: inspect the surface and construction rather than transferring an interpretation from one material to another.
Fiber and hide also need their own reading. A woven edge may be secured by a selvedge, stitching, binding, or repair; leather may be cut, shaved, burnished, or coated. A tidy boundary shows that someone addressed it, not necessarily that the original maker did so.
An edge is a little like the end of a book’s pages: it can show how the pages were cut and handled, but not every reader who turned them. The analogy has limits, which is precisely why it is useful.
Distinguish a finishing trace from damage or repair
When several causes seem plausible, compare the mark’s direction, location, and relation to nearby surfaces. The list below ties each observation to a decision and an alternative action; it is a way to keep the description useful without forcing a verdict.
- Check whether parallel lines repeat along the same edge. If they follow its profile, describe them as consistent with repeated finishing; if they cross onto adjacent faces, consider later scratching and compare other surfaces.
- Check whether a chip interrupts a smooth or patterned boundary. If it breaks the established profile, record it as possible damage; if the profile continues around it, consider whether the apparent chip is part of the original shape.
- Check whether a change in color or sheen has a clear boundary. If it meets the older surface abruptly, consider coating or repair; if it appears across handled areas, compare those areas for wear before deciding.
- Check whether a mark stops at a joint or seam. If it follows the joint, consider assembly or finishing at the join; if it crosses the joint, inspect for later abrasion or repair instead.
- Check whether similar edges elsewhere on the object share the same shape. If they do, describe a repeated design or finishing feature; if they differ, compare their exposure and use before attributing the difference to separate makers.
- Check whether fibers, grain, or surface texture change at the mark. If the change follows the material’s structure, consider a tool pass shaped by that structure; if it cuts across it, consider damage or a later treatment.
Ask narrower questions about an edge’s history
A smoothed boundary where a hand rests may suggest attention to comfort. A wrapped or folded edge may protect a vulnerable material, conceal a cut, or strengthen a join. Compare those possibilities with the object’s construction, wear, decoration, and the locations where finishing appears.
Finishing concentrated on exposed rims may relate to handling or display; a treated edge at a joint may relate to assembly. A carefully finished visible surface beside a rough underside indicates where labor was applied, but does not establish who did the work or how a workshop was organized.
Say you are examining a wooden box with parallel lines along its lid, a darker smooth rim, and a small interruption near one corner. First, note the lines’ direction and check whether they continue along the lid; if they do, describe them as consistent with repeated shaping, not as proof of a named tool. Next, compare the dark rim with the underside and other handled areas; if the same sheen appears where hands would touch, wear or polish remains plausible, while a sharp change at the corner keeps repair in consideration. Finally, inspect whether the interruption breaks the rim’s profile; if it does, record possible damage and keep the original finishing separate from that later event. The resulting account identifies the visible traces and the unresolved alternatives without inventing a maker’s biography.
What can a finished edge establish?
Can an edge prove that an object was made by hand?
No single edge normally proves that on its own. Several tools and processes can leave similar marks, and an object shaped by machinery may receive hand finishing. Compare materials, construction, other surfaces, and reliable documentation before making a broader claim.
Can an edge help date an object?
It may help narrow possibilities when its materials and construction can be compared with well-documented objects. Wear, repair, and recurring finishing practices complicate that reading, so an edge alone rarely supplies a secure date.
Should I clean an edge to reveal its marks?
Do not remove a coating, polish, or deposit just to expose a suspected trace. Cleaning can erase evidence or harm a fragile surface. For an object with historical, cultural, or monetary significance, consult a qualified conservator before treatment.
What should I do when two explanations fit?
Record both and name what might distinguish them, such as a closer view of a joint or comparison with another edge on the same object. If the surface cannot settle the question, “unclear” is a more accurate account than a confident guess.
Record observation before interpretation
Write down the material, edge shape, direction and location of marks, and whether they continue onto neighboring surfaces. Then give a cautious interpretation and state which observations support it. Use “consistent with” when a trace fits a process but does not identify it.
Reading a hand-finished edge across workshop and factory history means tracing possible operations without forcing them into a neat before-and-after story. A boundary may show where someone considered touch, fit, protection, or appearance important. The most useful record preserves that evidence and leaves room for what the surface cannot say.